How to Combine Pixel and Vector to Produce Striking Artwork

Your are going to be creating an experimental personal design where a piece of digital artwork is created by combining pixel and vector elements. This is your t-shirt design.
There are plenty of useful little tutorials on the net
explaining the use of a single tool, but rarely do you find a more complex
explanation on how designer's pull together a completed project. Here you will
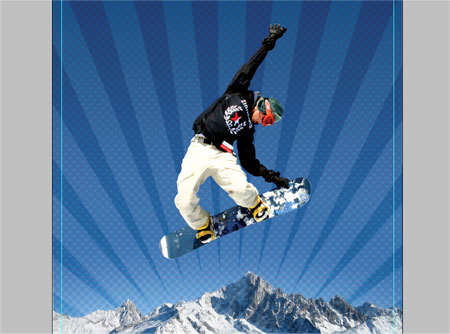
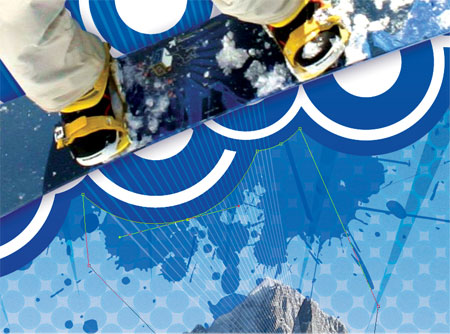
find a step by step guide of how both pixel and vector techniques were put to use to make
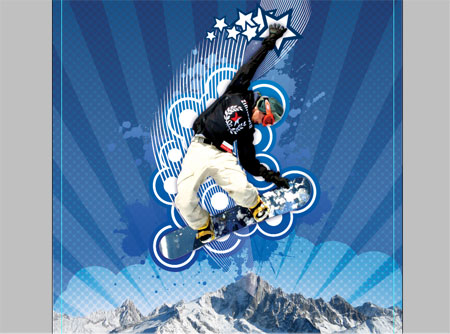
this Snowboarder artwork.

The project makes use of both Adobe Photoshop and Adobe Illustrator to create and combine the different elements. Also a collection of resources was gathered which includes stock photography from StockXchng and vector graphics from GoMedia and Vecteezy. As well as some resources I already had stored in my personal toolbox!
The first step on this project was to sketch out a rough plan, this idea in particular was pretty clear in my head already but a quick drawing was produced to keep as a reference.
Once you have your plan and idea in mind, open up Adobe Photoshop and setup your document. Here I'm using a 150dpi RGB A4 layout with an additional 3mm bleed just in case I decide to have it professionally printed at a later stage.
Bearing in mind the bleed that the document has, set up guides to accommodate the trim area and enough margin around the edges.
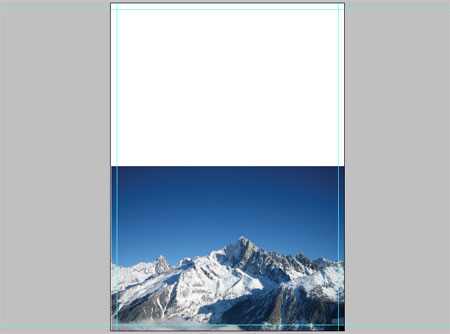
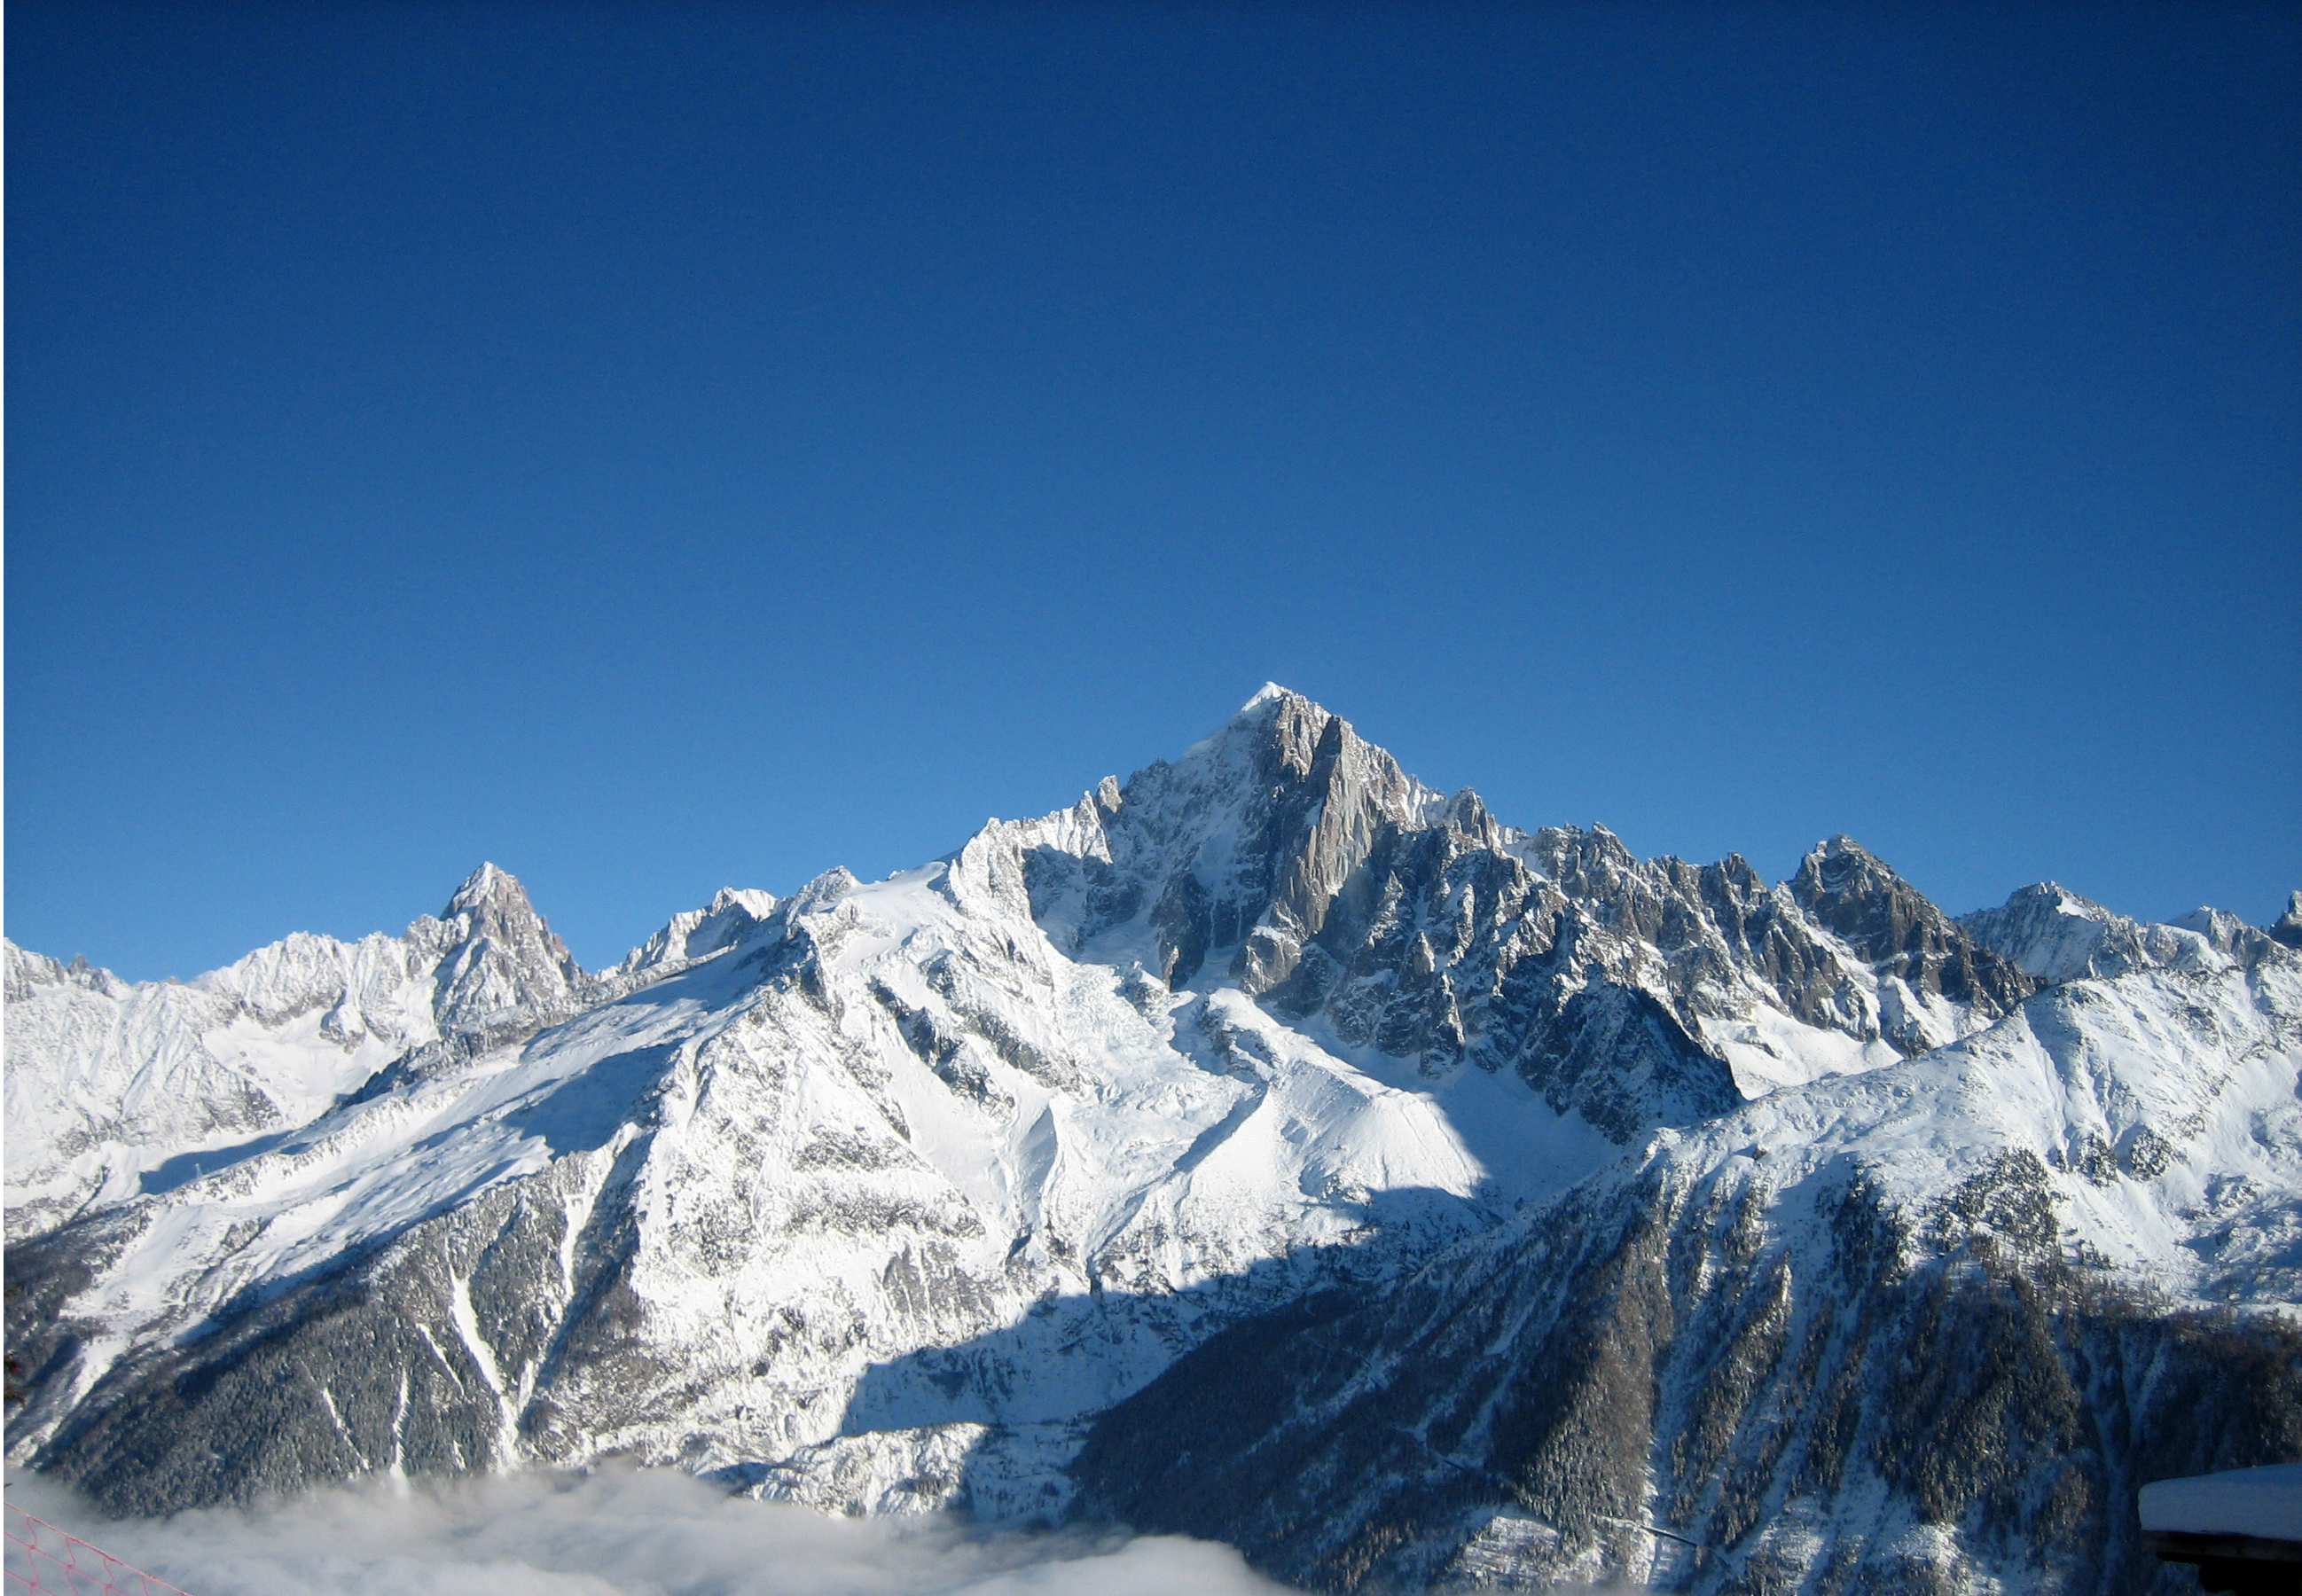
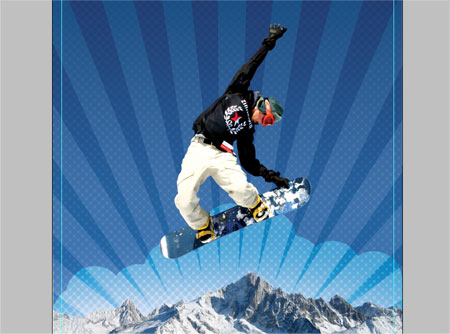
The main background image is of a range of snowy mountains, align this to the bottom of the document.
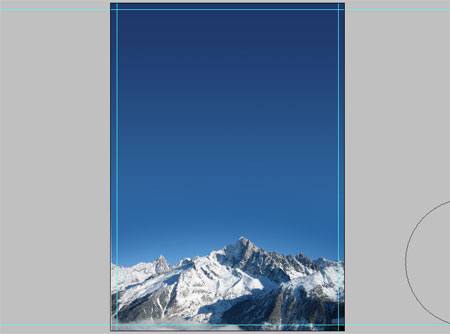
Select light and dark blue areas from the picture and add a gradient to extend the sky to the top of the document.
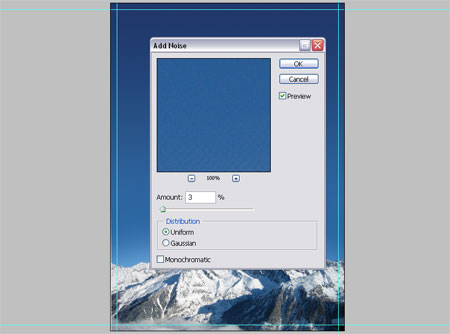
Due to the size of the document slight banding is appearing, to remedy this add a 2-3% amount of noise.
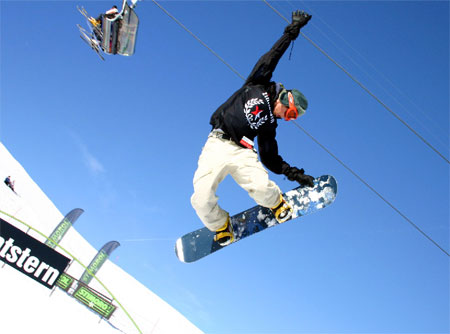
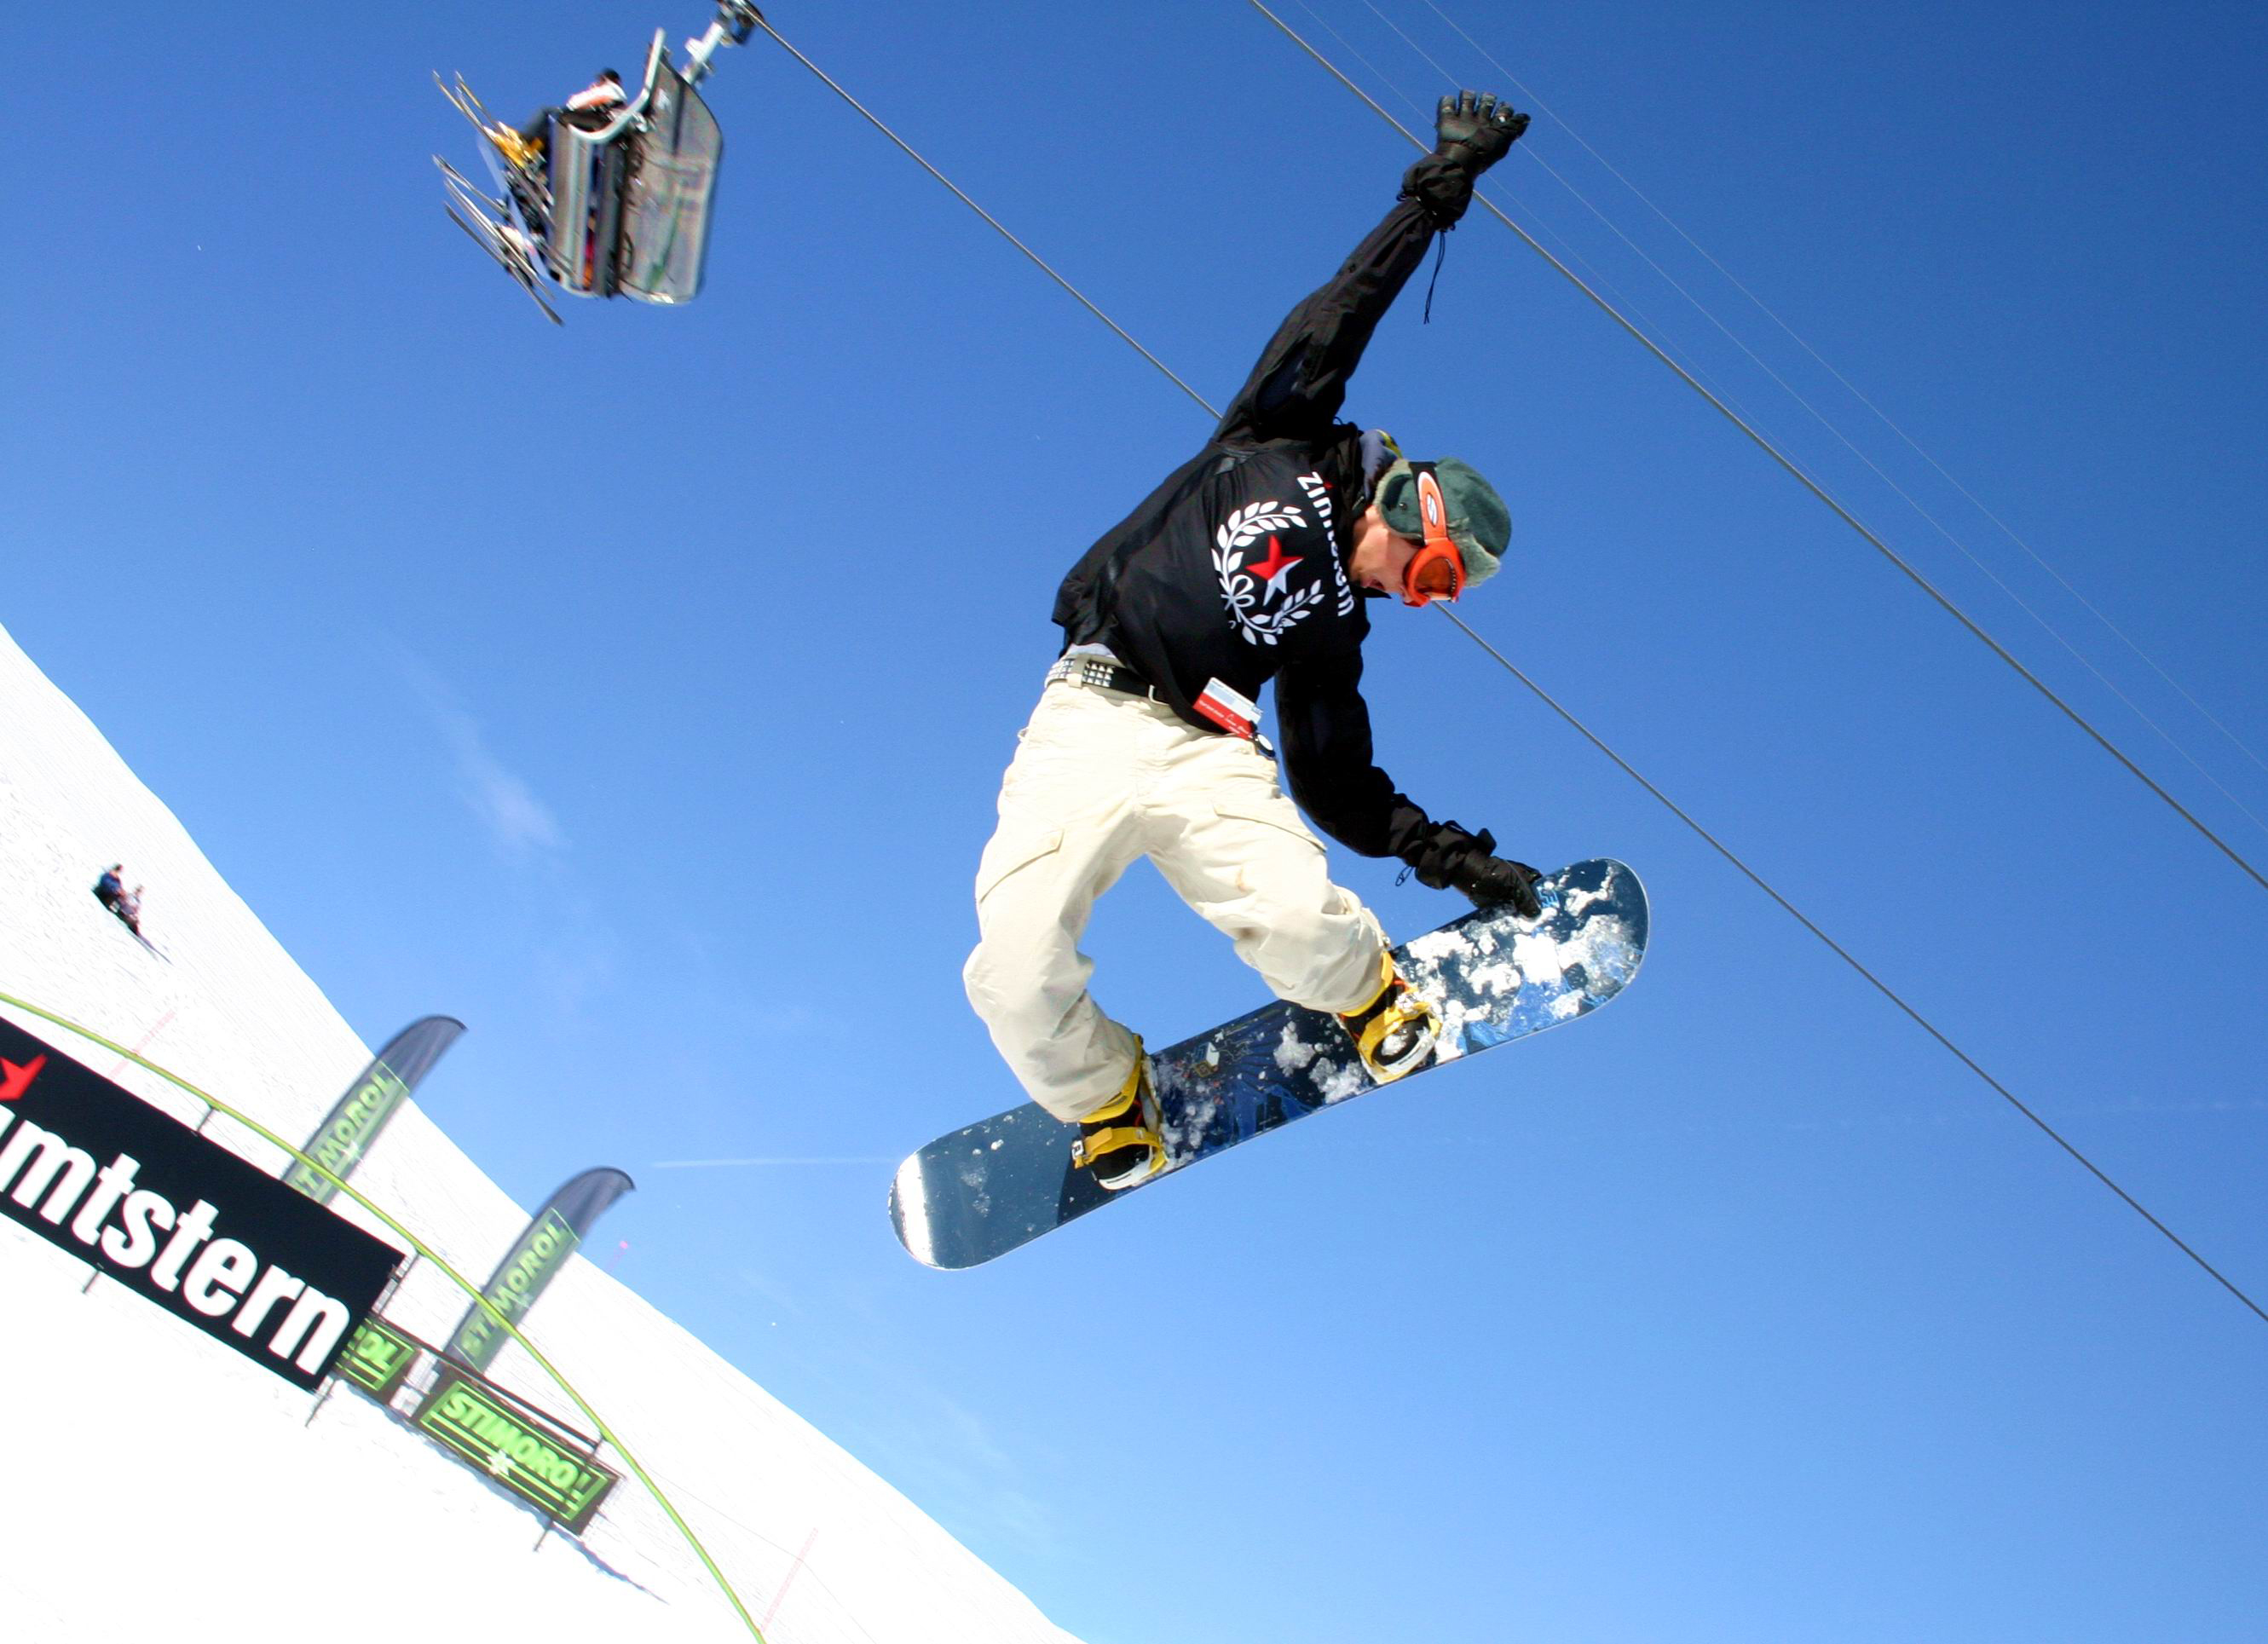
After a lot of searching the main subject was the Snowboarder image...download and brought into Photoshop.
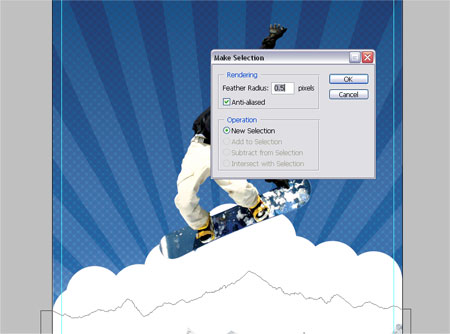
Using the Pen Tool zoom right into the subject and draw an outlining path, this is probably the most time consuming method of 'cutting out' a picture but is also the most accurate.
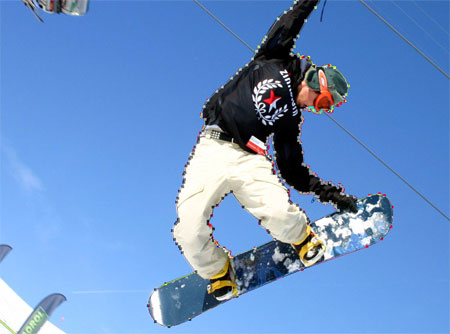
Make selections from your Paths using a half pixel feather to remove the sharp edges. Paste the Snowboarder into your main document.
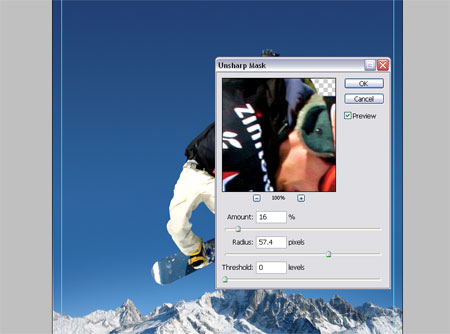
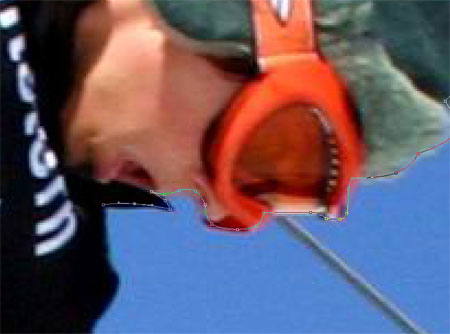
Now is a good opportunity to make any slight correcting adjustments such as Levels, Curves and Sharpness to match the image to it's surroundings.
Vector Shape One - Radial Lines
Swap over to Adobe
Illustrator to create the first of the vector graphics. These will be a set of
radial lines to sit in the background of the main artwork.
Draw a rectangle on the artboard, then using the Direct Selection Tool pull together the bottom two points.
Copy and Paste the shape and rotate slightly using the Rotate Tool with the
pivot placed underneath the shape.
Pressing CTRL/CMD + D will repeat repeat
the last action allowing you to quickly paste (CTRL/CMD + F) and rotate multiple
instances by alternating between the two shortcut keys. This will eventually
make up the set of radial lines as shown.

Paste the radial lines into the document above the mountains layer but underneath the snowboarder.
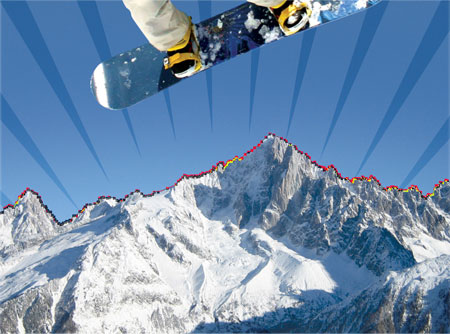
To remove the overlap over the mountains draw a clipping path with the Pen Tool following the contours of the mountain tops. Save this Path for later as we will be using it again, double click the Path in the Paths palette and enter a name.
The mountains layer looks quite flat so add some funky halftone texture by
duplicating the layer and going to Filter > Pixelate > Halftone.
Enter
30px minimum diameter and 45 in each of the channels.
Set this layer to Soft
Light at 20%.
Make a selection from the Mountains Path and delete out the
section from the halftone layer.
Vector Shape Two - Circular Blobs
Switch over to Adobe
Illustrator again to create the next vector element.
Draw a circle whilst holding Shift, then copy and paste this circle multiple
times overlapping each to create a large blobby area.
Select all and fill
with white, then paste into the Photoshop document.
Make a selection from the Mountains Path once again, and delete out the area.
Change the blending mode to Overlay.
Vector Shape Three - Trendy Circles
In a previous post I
presented a selection of Trendy
Circles for free download, head over and download the freebie and open up in
Adobe Illustrator.

Select a style of Trendy Circle that takes your fancy and copy the group.
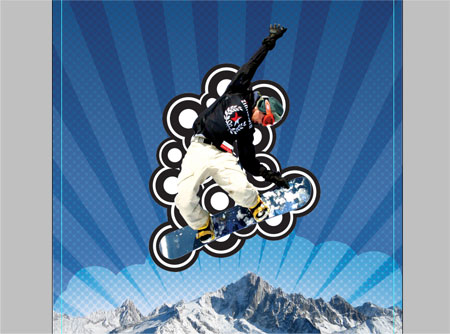
Paste in multiple groups of Trendy Circles to fill the area behind the snowboarder.

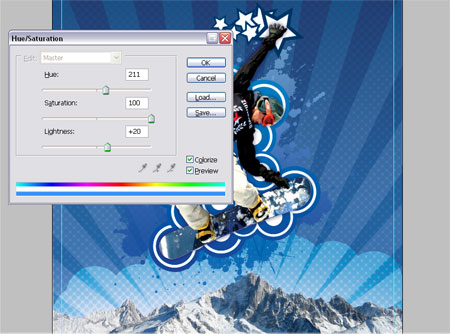
Go to Image > Adjustments > Hue/Saturation or shortcut with CTRL/CMD + U and adjust the colour settings as shown to match the Trendy Circles with the scheme of the artwork.
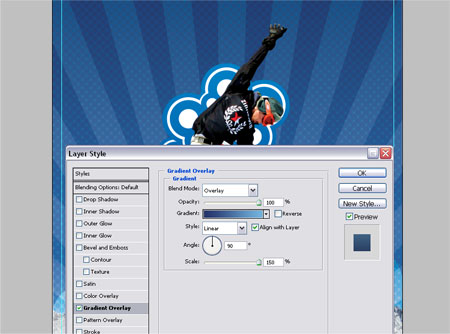
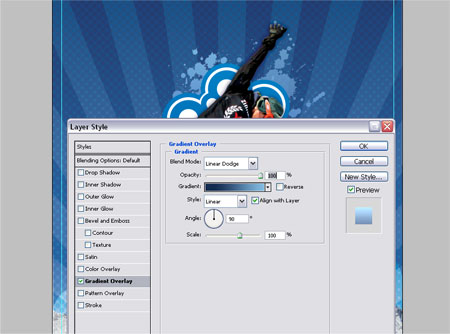
Add a little extra visual impact by adding a Gradient Overlay in the Layer Styles, ranging from a dark to a light blue vertically across the circles.
Open up a vector splatter from the resources collection, paste into the Photoshop document under the Trendy Circles.
Repeat the Hue and Saturation adjustment to the splatter and add another
gradient overlay to the layer.
Delete out the Mountains Path selection from
the splatter layer.
Open up the Punk Vector Pack and copy the star shape.

Paste this shape into the Photoshop document multiple times and scale each star down to create a small trail behind the boarder's hand.
Adjust the Hue and Saturation to add a complementing dark blue colour from the Snowboard.
Vector Shape Four - Whispy Lines
Back into Illustrator
again to produce another vector element, draw a small circle on the
artboard.
Using the Direct Selection Tool drag the left and right points individually
outwards to create the shape seen in figure 3.
With this shape still selected
click the New icon in the Brushes Palette and select the New Art Brush
option.

Ensure the direction is running along the width of the shape in the options window.
Draw a slightly curved Path and apply the new brush. Copy and paste the path and rotate it slightly and place underneath the previous.
Select both of the paths and go to Object > Blend > Blend Options. Setup the Spacing to Specified Steps and enter 20. Go back into Object > Blend and select Make.
Convert the shape to white and paste into the Photoshop document, position a couple flaring out from underneath the Snowboarder. Set the layer style to Soft Light.
Zoom into the bottom of the Trendy Circles and draw a path following their contours, make a selection from this to delete the overlapping Whispy Lines.
END OF PART ONE