Part One
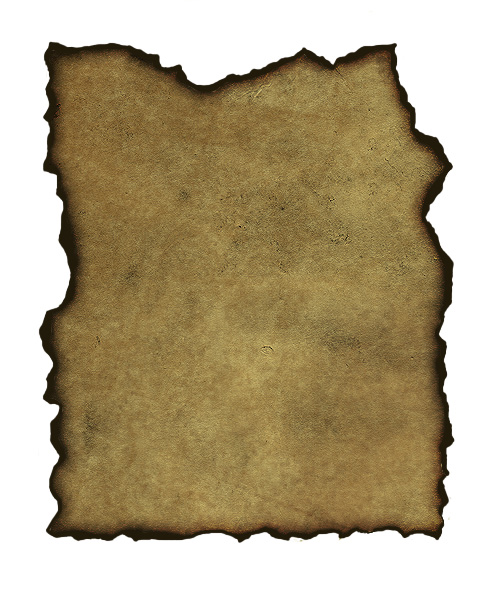
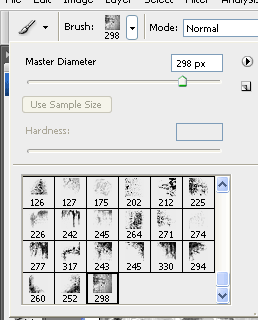
Step 1 – Creating the EdgesUsing the Lasso Tool, make a selection around the inside of the parchment that will give it jagged edges. Then apply an Add Layer Mask at the bottom of the layer pallet. 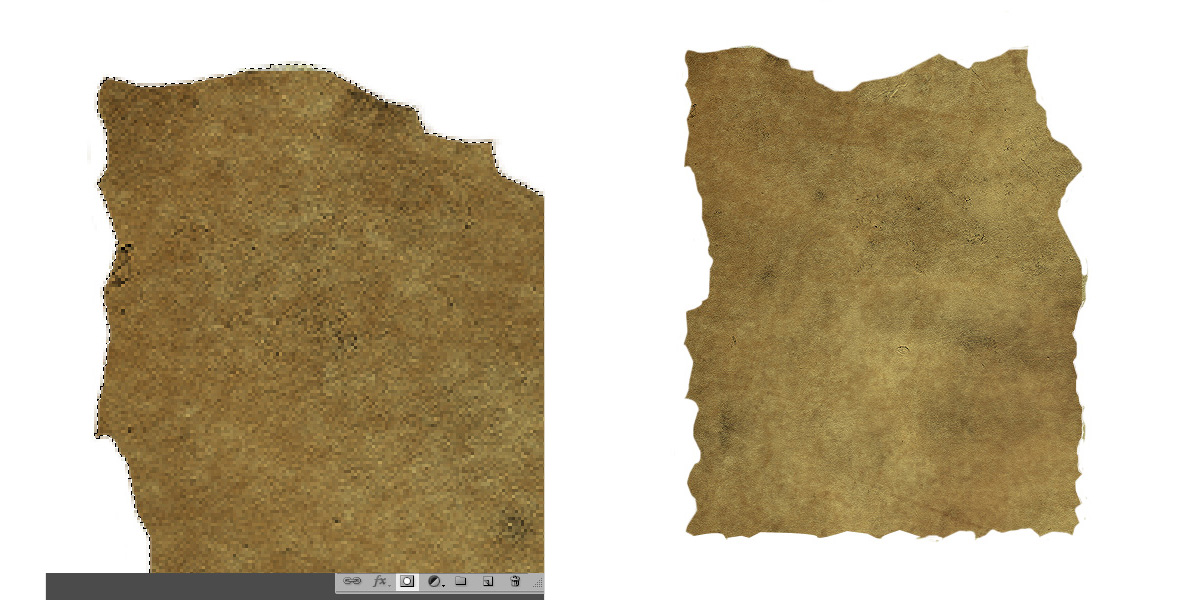 Step 2 – Creating the Outer CrispIn order to get the burnt effect, we need to create a dark outer edge around the parchment. Create an New Layer To do this, use a really dark brown color like #211a0a and hard small brushes around 3-5px to create an effect like below. Then copy the Layer Mask from the Parchment Paper layer and past it onto the painted layer. 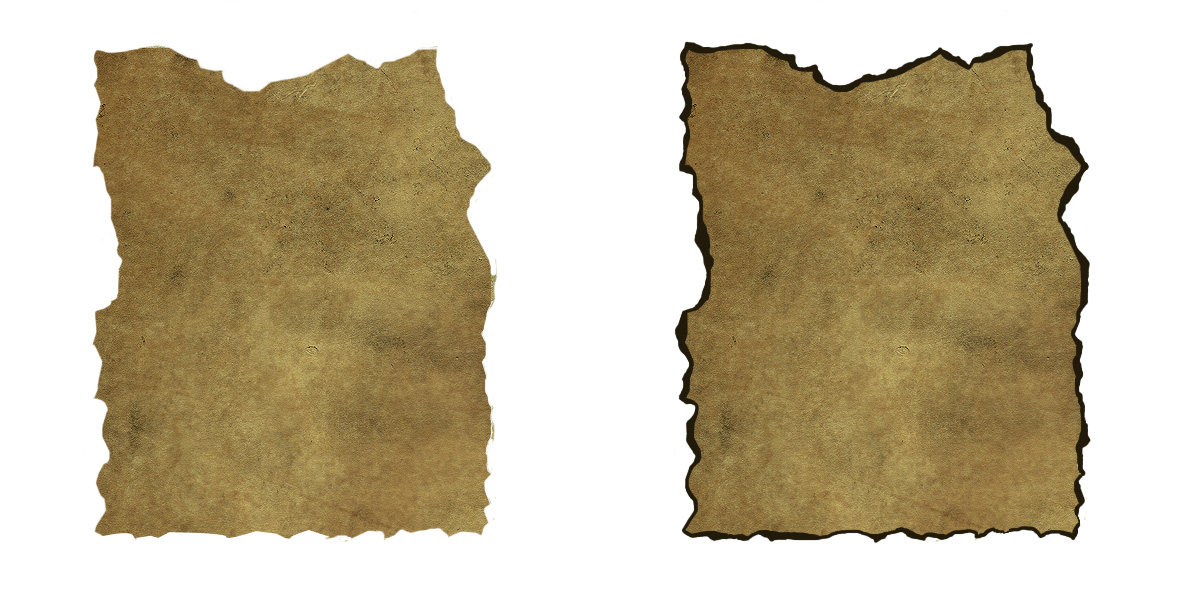 Step 3 – Burning the EdgesTo make the burn look more realistic we need to have a transition from the dirty parchment to the burnt edges. Duplicate (Right Click > Duplicate Layer) the layer containing your crispy dark edge. Then apply a Gaussian Blur (Filter > Blur > Gaussian Blur) of 2. Set the layer to Darken, and make a selection of the layer mask set on the Parchment group. Then apply the same layer mask to your current layer.
Step 3 – Add Your Ligature Logo
Step 4 – Grunge Your Logo
Step 5 – Final Touches
(extra credit) |